Assemble and publish a movie
Arrange project video clips on a timeline, add audio, and publish the finished movie.
Why use it
The Movie Editor keeps rough assembly close to the generated clips and audio already in your project.
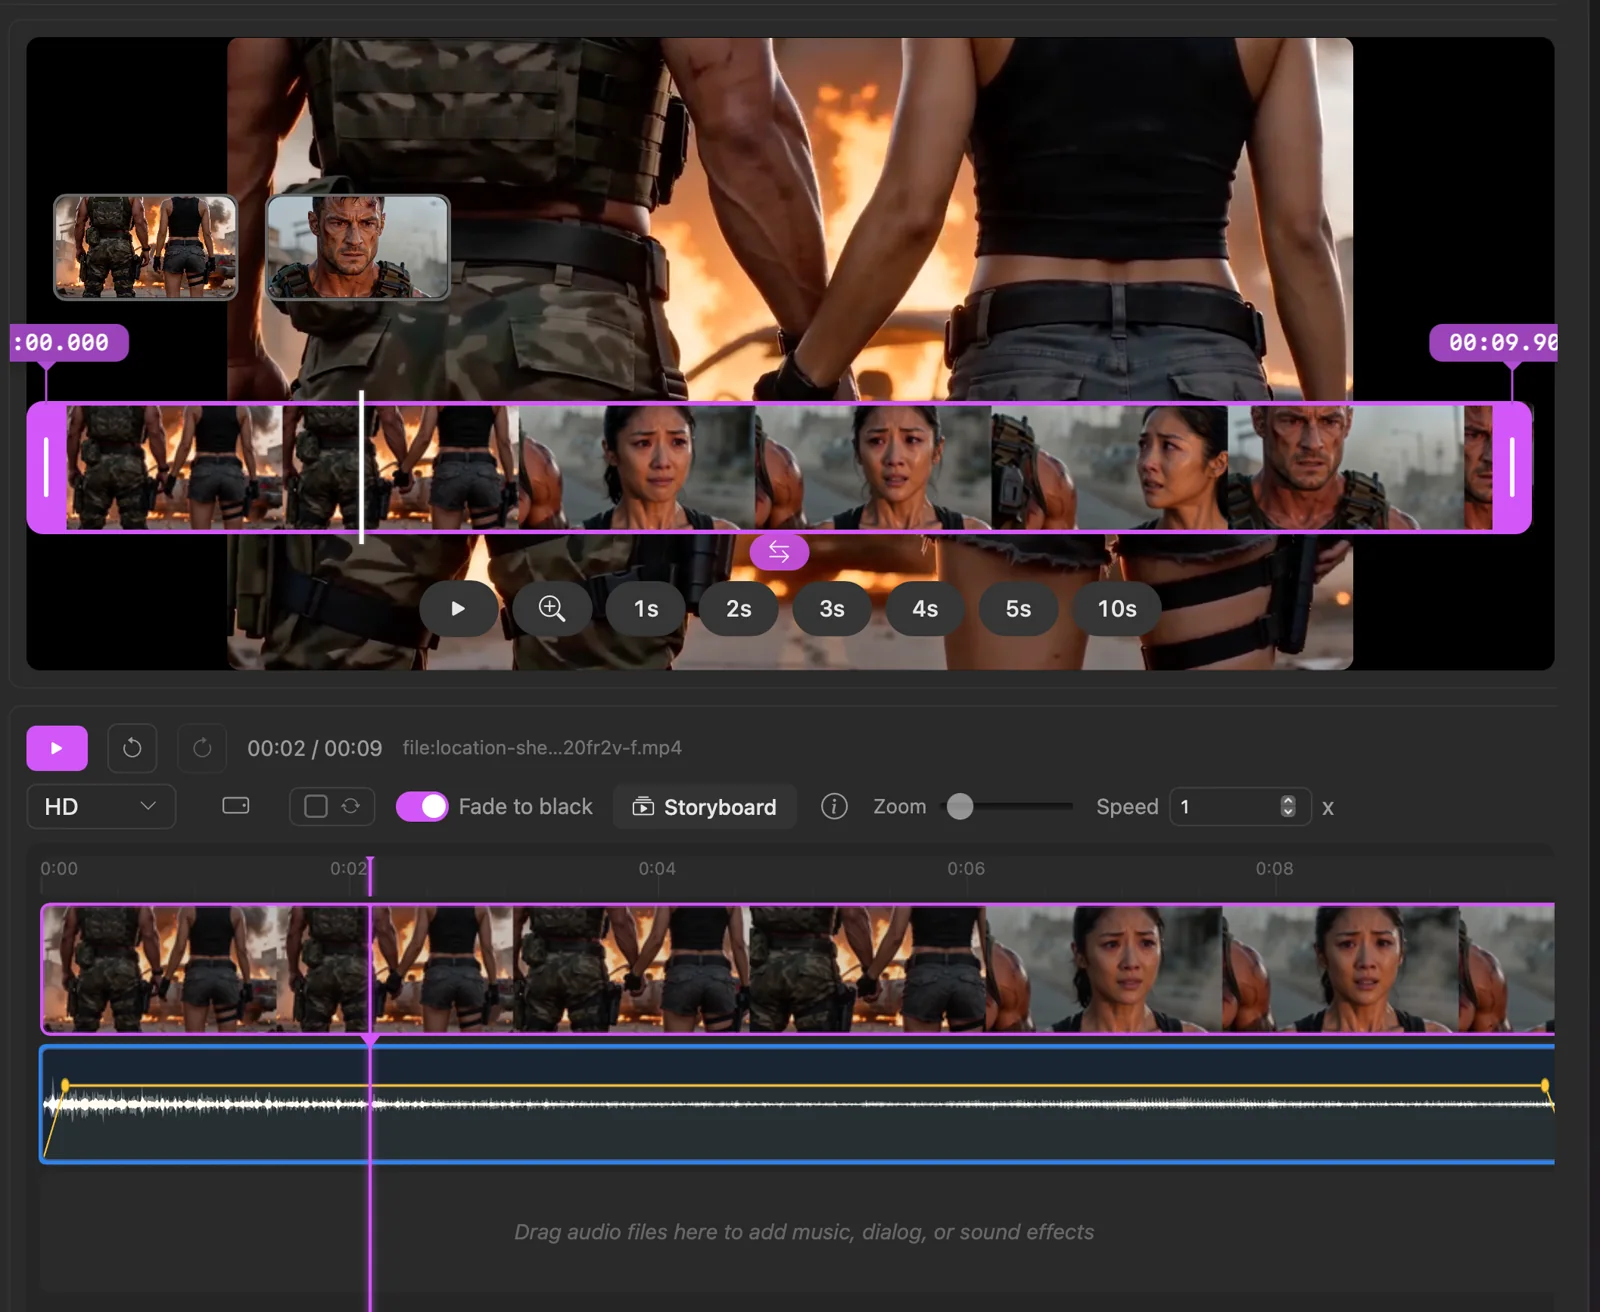
Do this
- 01Set a project folder, switch Source to Project, then open Movie Editor from the top toolbar.
- 02Choose New Movie, add video clips to the video timeline, and add audio to the audio lane.
- 03Arrange the clips and use the timeline controls to refine the movie.
- 04Choose the output resolution, orientation, and any fade you need.
- 05Choose Publish to Project when the movie has a valid video source. PixelPig creates a new MP4 in the project video folder and leaves the source files unchanged.